Batch Convert Images on Windows: HEIC, WEBP, AVIF and PDF Without Uploading
By Apu Patra · Published 11 Aug 2026 · Updated 11 Aug 2026 · 6 min read
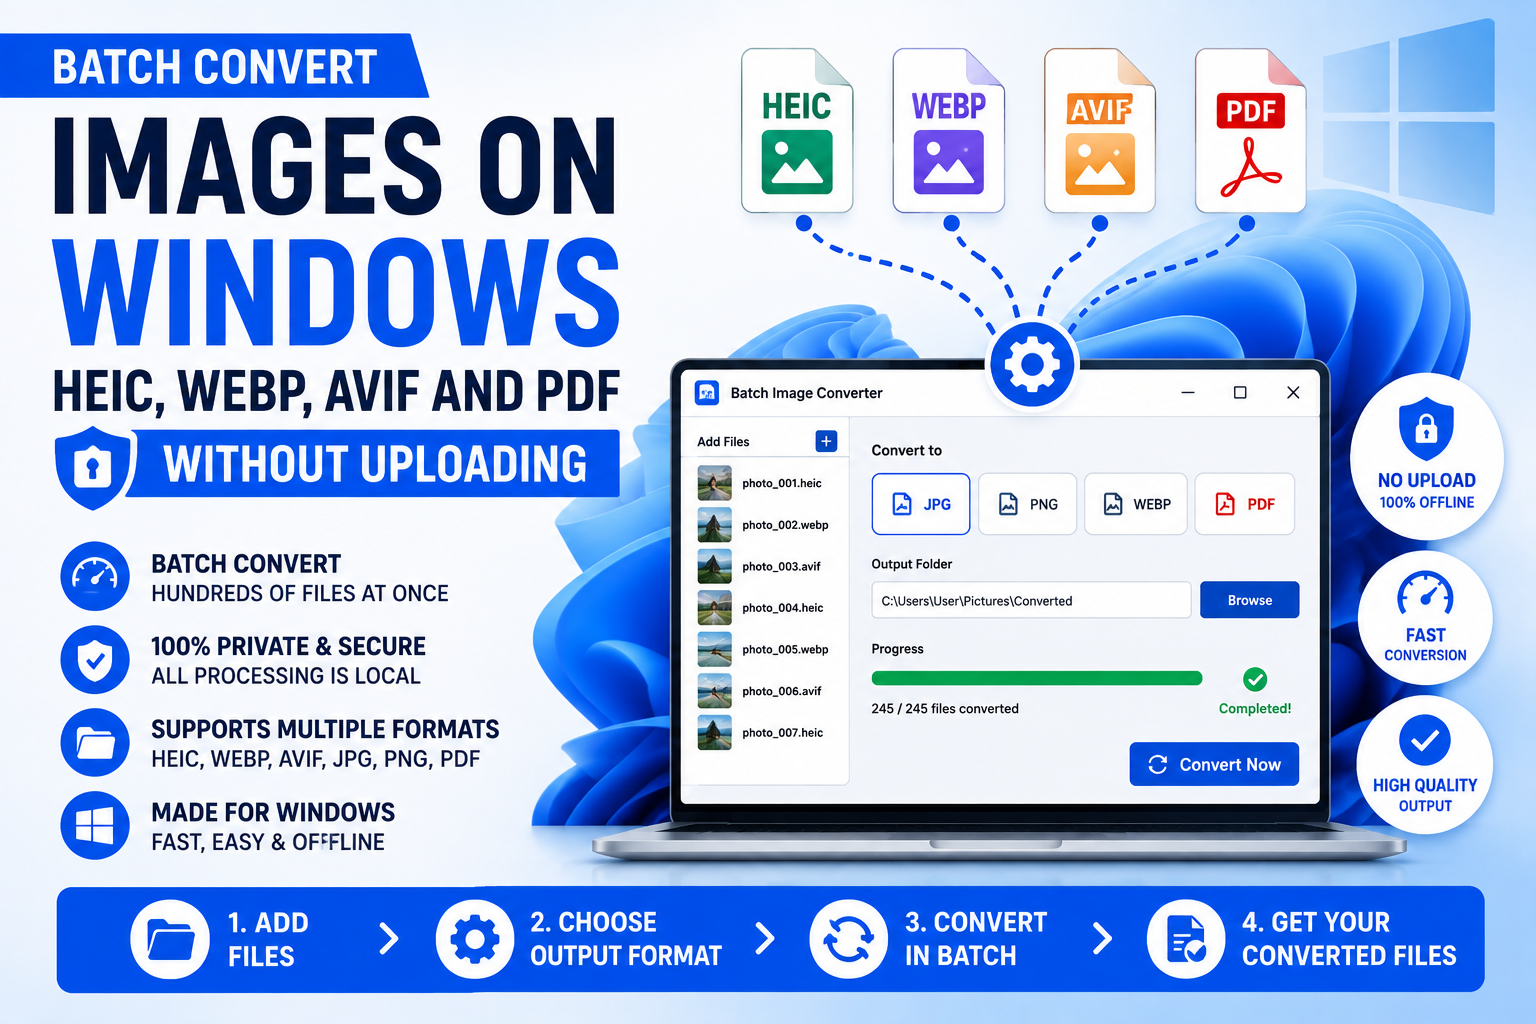
You rarely need to "just convert" an image.
What actually happens is this: you have 200 photos from an iPhone in HEIC
format, you need them as JPG, they need to be under 2 MB each for the upload
form, they need to be 1600px wide, and you would rather not publish the GPS
coordinates of your house along with them.
That is four jobs, not one. Most tools do one of them at a time.
This guide covers doing all four in a single pass on Windows, offline, with no
cap on how many files you process.
Why online converters get frustrating
Browser-based converters are convenient right up to the point where they
aren't. The usual walls:
- Batch limits. Twenty files free, more if you subscribe.
- Upload time. A folder of 40 MP photos is several gigabytes going up a
- One job per pass. Convert, then re-upload to resize, then re-upload to
- Your files sit on someone else's server. For holiday snaps that may not
domestic connection.
compress.
matter. For client work, ID documents, medical scans or anything with faces
in it, it should.
Doing it locally removes all four problems at once.
Which output format should you actually pick?
This is where most guides hedge. Here is the short version.
| Your goal | Use | Why |
|---|---|---|
| Photos on a website | WEBP | Roughly 30% smaller than JPG at the same visual quality, supported by every current browser |
| Absolute smallest web files | AVIF | Smaller again than WEBP, at the cost of slower encoding |
| Email attachments, older systems | JPG | Universal. Nothing will refuse it. |
| Screenshots, logos, anything with text or transparency | PNG | Lossless, keeps alpha, larger files |
| Print or editing masters | TIFF | Lossless, very large |
| Windows application icons | ICO | Holds multiple sizes in one file |
| Sending a stack of images as one document | Each image becomes a page |
WEBP is the default answer for the web. Google's own
WebP documentation covers the
compression trade-offs in detail, and browser support has been effectively
universal since 2020.
AVIF is genuinely smaller but noticeably slower to encode — on a large batch
that difference is measured in minutes, not seconds. Test it on ten files
before committing to a thousand.
Skip JPEG XL. It is technically excellent and practically stranded:
Google removed JPEG XL support from Chrome
in 2023, and Windows tooling for it remains unreliable. Almost nothing you
publish to will read it.
The HEIC problem
Every iPhone shipped since 2017 defaults to HEIC. It is a good format — better
compression than JPG at the same quality — and Windows support for it is still
patchy enough that people hit a wall constantly.
If you are handed a folder of .heic files and Windows Photos shrugs at them,
you need a converter that reads HEIC natively. Most free desktop tools do not.
Converting HEIC to JPG loses nothing you will notice on screen, and gains you
compatibility with literally everything.
Strip the location data before you post
This is the step people skip.
Every photo your phone takes carries EXIF metadata: camera model, exposure
settings, timestamp, and — if location services were on — the GPS coordinates
where the shutter fired. Upload that photo unmodified and those coordinates go
with it.
Most social platforms strip EXIF on upload. Many forums, messaging apps,
marketplaces and file-sharing services do not. The
documents exactly how much is stored in there.
You do not have to nuke the whole thing. A good tool offers granular control:
- Remove GPS Only — takes out where the photo was taken, keeps the date,
- Remove Camera Info — strips make, model and settings, keeps the rest.
- Remove EXIF — clears camera and technical data.
- Remove All Metadata — everything goes.
- Keep Metadata — for archival work where provenance matters.
orientation and camera info. This is what most people want.
For selling something on a marketplace with photos taken at home, **Remove GPS
Only** is the setting. It solves the actual problem without destroying the
timestamp you might want later.
Getting the crop right on a batch
Resizing a folder to a fixed square is where automated batches usually go
wrong. Centre-cropping a portrait photo to 1080×1080 will cut somebody's head
off roughly as often as not.
The fix is content-aware cropping. Instead of cutting from the geometric
centre, the tool builds a gradient-energy map of the frame — essentially a
measure of where the detail is — and slides a window across it to find the
busiest region. Faces and text tend to be high-detail areas, so they usually
survive.
"Usually" is the honest word. It finds detail, not faces specifically. On
images that matter, check the preview.
Watermarking without the usual mistake
If you watermark and resize in the wrong order, the mark gets scaled down with
the picture and turns to mush.
The correct order is resize first, watermark second. That way the mark is
rendered at final output resolution and stays crisp.
The second thing that goes wrong: setting a watermark to "40px" looks
reasonable on a 1200px image and vanishes on a 6000px one. Tools that measure
watermark scale against a fixed reference resolution avoid this — one setting
produces a visually identical mark regardless of the source size.
Doing it all in one pass
Here is the workflow that collapses those four jobs into one:
- Queue the folder. Include subfolders if the images are nested.
- Set the output format. WEBP for web, JPG for compatibility.
- Set the resize. 1600px on the long edge is a sensible web default.
- Set the quality. Somewhere around 78–82 is the sweet spot for photos —
- Set metadata to Remove GPS Only.
- Add a watermark if you need one.
- Pick an output location that is not the source folder.
- Run it.
Leave the other dimension blank to preserve the aspect ratio.
visually indistinguishable from the original at normal viewing sizes,
dramatically smaller.
A well-built batch tool will keep going if one file fails rather than aborting
the whole run, and will tell you which file failed and why. Losing a 500-file
job to one corrupt image is a bad afternoon.
A note on "AI upscaling"
Be sceptical of this label on free desktop software.
Genuine neural super-resolution — the kind that hallucinates plausible detail
into a low-resolution image — needs a trained model, meaningful GPU time, and
usually a download measured in gigabytes. What is labelled "AI upscale" in most
lightweight tools is high-quality Lanczos resampling with unsharp masking.
That is not a criticism. Lanczos is an excellent resampling algorithm and the
results are clean. But it enlarges what is there; it cannot invent what was
never captured. A blurry 400px photo becomes a larger, smoother, still-blurry
photo. No free portable EXE is going to change that, and any that claims
otherwise is overselling.
Do it with Image Converter Pro
Everything above is how Image Converter Pro
works — a single portable Windows EXE, free, with no installer, no account and
no batch limit.
- Opens 13 formats including HEIC, HEIF, AVIF and JXL
- Saves to 9 including WEBP, AVIF, ICO and multi-page PDF
- Six resize modes including content-aware Smart Crop
- Five metadata modes including Remove GPS Only
- Text and image watermarks, resolution-independent sizing
- Multi-core processing with a configurable worker count
- Nothing is uploaded; the app makes no network requests at all
It is also upfront about what it does not do: the upscaler is Lanczos rather
than a neural model, animated GIFs convert as their first frame only, and
background removal needs an optional package it does not bundle. Those limits
are documented in the app itself, not buried.
Download it, run it, delete it when you are finished. Settings live in
%APPDATA% and nothing else is touched.